Read ahead to understand when it is convenient or not to change a mailbox.
Signs You Need To Change Your Existing Mailbox
To understand the signs, you first need to know the difference between outdated and latest USPS-approved mailboxes.
Outdated Mailboxes
According to the USPS Standard regulations, horizontal and vertical mailboxes have been used for decades. The regulation was in existence in 1975, but since that time, many changes have been introduced in the USPS regulation. The regulation says that vertical mailboxes can only be replaced and cannot be used in a new installation—outdated vertical and horizontal mailboxes.
Old USPS STD-4B mailboxes take a lot of space and are attached to a wall opening. These older mailboxes are available on markets because if someone chooses to remove their existing USPS STD-4B mailbox, they can replace it with a new one to cover the wall and designated area. If you are planning to install a new mailbox, USPS mandates STD-4C equipment.
The NDCBU is a 3 generation old steel pedestal mailbox prone to rust and theft. Pedestal mounted cluster box units or NDCBU was popular recently, but it’s a good time to change these obsolete mailboxes.
Rustic iron is easy to destroy, so you should immediately get rid of old and rustic mailboxes to prevent them from theft. Moreover, they don’t look good, decreasing your house’s curb appeal. The latest mailboxes are not only aesthetically pleasing but very convenient for use.
Latest Mailboxes
The latest USPS-approved mailboxes are helpful and convenient for modern people. There are various mailboxes available in markets that serve different crucial purposes. Identify your needs and get a mailbox, preferably.
Packaged mailboxes are specifically designed for people who get a lot of packaged mail and parcels. These mailboxes are highly secured and protect your parcels from getting stolen. Such mailboxes are made with a high tensile strength that is not easy to break and cut in with sensitive equipment.
Curbside clustered mailboxes are convenient and stand on the side of the road. Curbside CBUs have multiple compartments making it easy for the USPS to deliver the mail efficiently. Additionally, curbside CBUs does not take up much space and look better than the conventional and outdated wall NDCBU.
We hope you have understood the signs of getting a new mailbox, but for that, you have to remove your existing mailbox. Read ahead with detailed steps for the removal of old mailbox system.
Steps To Remove An Old Mailbox
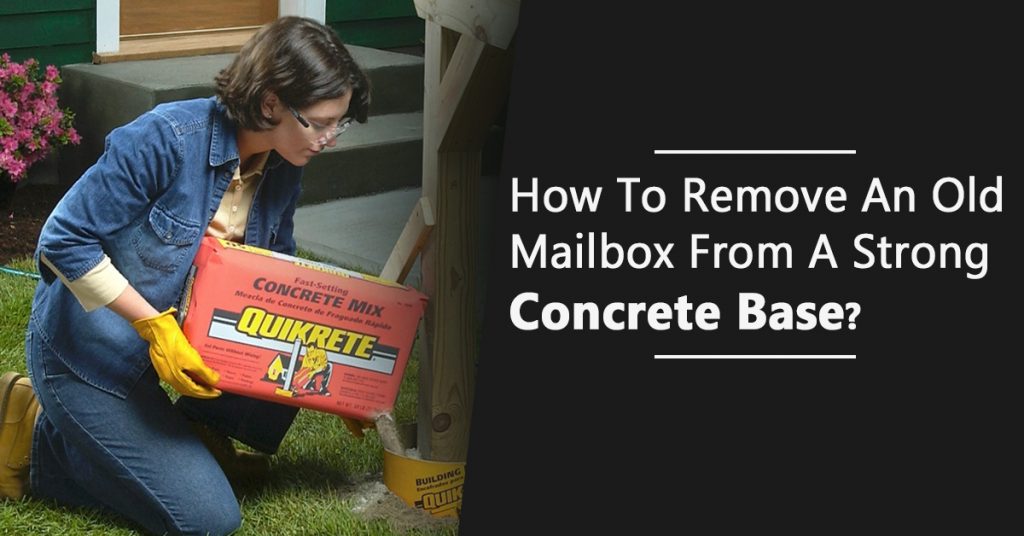
Mailboxes are either affixed to a post in the ground or mounted on an outside wall. Posts are planted in the ground or bolted to a small concrete pad. Although you can remove mailboxes for replacement, dig out the entire post to make essential changes. Tools you will need to remove a mailbox are a shovel, pry bar, chisel, mallet, wrench, pliers, and screwdrivers. You might also need some equipment like goggles, gloves, and shoes to prevent injuries. To remove your existing mailbox, carefully follow the steps mentioned below:
- The first step is to wear your goggles, gloves, and solid shoes to prevent injuries.
- Clear the area around the mailbox, such as debris, rocks, weeds, etc.
- Take a box off the post. Skip over this step if you do not wish to replace the post with a new mailbox. If you are replacing a box, it has to be the same type of mailbox, as it will not fit in the post mounts. The mailboxes might be attached to the floor or wall in several ways. All of these ways include the use of nuts and bolts. Nuts and bolts are easy enough to find. Standard mailboxes are held on the mounting plate at the top of the pole with four machine screws. Loosen the screws with a screwdriver while holding the nuts with a fitting wrench or pliers. Remove the box off the wall. Wall-mounted screws hold on boxes. Most units hide these screws inside the mailbox, so you have to open the flap to check them.
- The bottom pedestal stand will be bolted to the concrete pad with at least four bolts. Loosen all of them before completely removing any. Take help from someone to hold the post while you do your job. If not, keep one hand on the post to stop it from falling on you as you unbolt the support.
- After removing all these attachments and pedestal mounts, it’s time to get rid of the concrete floor. Start digging the area around the mailbox with a shovel. If the shovel hits the concrete base, move it a few inches away from the mailbox post and start again. Dig around the entire concrete post while the post loosens the soil and dirt on the ground level.
- Angle the edge of the shovel towards the mailbox post and dig hard to locate the bottom of the concrete base. Keep digging under the concrete while pushing the shovel under the concrete base around the mailbox post. Repeat the process until the mailbox is pulled out of the ground.
- With the help of a pry bar, loose remaining debris at the bottom of the hole and carefully remove the concrete block up.
- Take a chisel and mallet to remove the existing concrete base carefully. Hold the chisel gently in your one hand and place its sharp edge against the concrete floor. With a mallet in the other hand, start hammering with a light force. Make a firm grip on the chisel and keep working at the bottom of the mail post as you chisel.
- Hammer the chisel head with a mallet to remove the concrete pieces. Boost your speed as you get hold of the chisel and mallet. Move along the length of the post while removing all the leftover concrete debris. Turn the post to the chisel from top to bottom.
- Finally, clear the area, pick up all the concrete waste, and dispose at an appropriate place. Clean your tools with cloth and water if necessary.
When the final step is done, you are ready to install a new mailbox for yourself. For this purpose, identify your needs and research to buy the same. When you are ready to install a mailbox, purchase it accordingly online or offline and contact USPS to start with delivering the mail services.
Choose Mailbox and sign Solutions.
Removing a mailbox post is not difficult if you carefully follow the instructions. But if this sounds tricky, contact Mailbox And Sign Solutions. We are a leading mailboxes manufacturer and provide vetted solutions for repairing and reinstalling mailboxes, address plaques, and custom signs. Visit our website to know more.