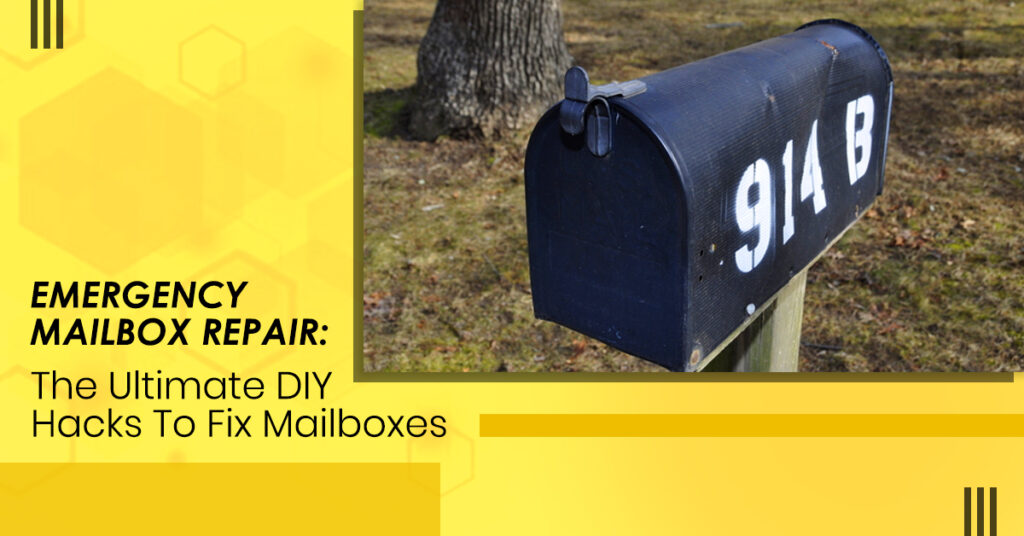
By now, you must have understood what this blog is about. And we can agree that no one likes seeing a broken or damaged mailbox on the curbside. On top of that, spending money on a mailbox repair is a waste. If you are not a professional and you repair it by mounting duct tape around it, it still can remain broken from the inside. But, to make it look brand new and strong from the inside, you need a tried and tested DIY hack. So let the professional help you. In this blog, we will discuss how to do Emergency Mailbox Repair yourself. Tips by our experts will save your money and keep your mailboxes secure for the long run. A broken mailbox is infuriating, whether broken by a snowplow, accident, or a thief has tried to cut it. You can repair it all by yourself by following our guidelines.
However, you must first examine how your mailbox has been damaged. Once you have the idea, you will know what to do next.
Step By Step Mailbox Repair Guide
The mailbox repair depends on what material your mailbox is made of. Different materials require different repairing treatments and tools. Let’s assume you have a UPS-approved mailbox post made from metal and mounted on a concrete base. Follow the steps carefully for the mailbox repair.
Examine The State Of Your Mailbox
We are going to do the mailbox post repair. The first step for mailbox repair is to wiggle the post to test if it’s still standing stable. You may only need to screw the box back onto the post. If it’s robust, then the mailbox isn’t damaged from the inside. Look at the top of the mailbox and the bottom of the post. You’ll need to repair the metal bracket that connects if it’s broken.
You’ll need to remove the post and replace it if it wobbles. If your post is constructed of metal and there aren’t any screw holes at the top, you should replace it. You’d have to solder the mailbox to the post otherwise.
Saw Off The Wood And Remove The Mailbox
Secondly, for the emergency mailbox repair, you need to remove the mailbox from the post if your mailbox is made of wood, sand, or saw off any damaged wood. Screws connecting the post and mailbox may have splintered the wood at the top of the post. Smooth the top of the post with 40- to 60-grit sandpaper, if required. You may need to see off the damaged top if the damage is severe. The US Postal Service (USPS) establishes mailbox height rules in the United States.
If any top needs to be removed, ensure the bottom of the mailbox aperture is 41 to 45 inches (100 to 110 cm) below the ground. Check your national mail service’s website for mailbox guidelines if you live somewhere other than the United States. Additionally, if your mailbox is made of iron or steel, you will require extra help and professional tools.
Get Some Mounting Brackets And Tools For Mailbox Repair.
For this step of emergency mailbox repair, obtain a mounting bracket compatible with your mailbox. You’ll need to repair the mounting bracket if it’s deformed or broken. Online and in home improvement stores, universal mounting brackets are available. If you know the manufacturer of your mailbox, you can buy a bracket made specifically for it. A mounting bracket secures most store-bought mailboxes to the post. Pre-drilled holes are commonly found on the sides or bottom of mailboxes. A universal bracket includes a range of holes that match various styles.
If your mailbox doesn’t have a bracket or you can’t find one that fits, you may need to support it with a piece of 1x 6 wood.
Attach The Brackets With The Galvanized Screws
You will get galvanized screws with your brackets; if you do not have them, buy some. You will need (4) 1 3⁄4 inch (4.4 cm) and (4) 3⁄4 inch (1.9 cm) galvanized deck screws. Also, some kits contain flimsy hardware, so it is always separate.
Drill Holes Into The Top Of The Post
Keep the bracket on the post, and mark where the pre-drill holes are on the post top. Now use a power drill to drill holes in the post top and set the bracket aside. Attach the drill with smaller screws thread diameter. The bit should generally match the shaft diameter of the screws, which is less than the thread diameter.
Drill new holes in the top of the post if the original mounting bracket’s holes are already there. When the box is knocked off, the old holes may have been stripped, or they may not fit your new screws. Move the bracket to the top of the post to prevent the old holes.
Affix The Bracket Onto The Post
Align the holes in the bracket with the holes you pre-drilled in the post. To secure the bracket to the post, drive the one 34-inch (4.4) screw through the holes.
Attach The Mailbox To The Bracket With Screws.
Locate your mailbox’s pre-drilled holes. Line them up with the bracket, then secure the mailbox to the bracket with the 34-inch (1.9 cm) screws. The perforations on most versions are aligned along the bottom of the sides. They might also be found on the mailbox’s underbelly. Pre-drilled holes on a universal bracket will accommodate both of these places.
If you can’t find a mounting bracket, use a 1×6 piece of wood. If a bracket isn’t available, cut a piece of 1×6 pressure-treated wood to fit inside the skirt of the mailbox. The recessed region (skirt) on the underside of the mailbox extends 12cm or 1-inch past the bottom. Prepare the board by pre-drilling holes matching the holes in the post and mailbox.
Align the pre-drilled holes in the board with the pre-drilled holes in the post. Use a pair of 1 34-inch (4.4 cm) galvanized deck screws to secure the 1×6 board to the post. Drive 34-inch (1.9 cm) screws through the pre-drilled holes in the mailbox to secure it to the wall.
Read Also: Custom Metal Street Signs: A Guide To Choosing & Installing Them
Steps For Mailbox Door Repair
The steps will help you in Emergency Mailbox Repair for fixing the door. If your mailbox door is broken due to a snowplow, storm, or by accident, it can lead to damage to the mail and letters. But the good thing is that you can easily repair the mailbox door at home. Here are a couple of Emergency mailbox repair hacks to help you.
Step1. Get Retrofit Doors For Metal Mailboxes
Retrofit doors are designed so that they snap into your existing mailbox and hold it in place from the inside with a spring metal cap. For this mailbox repair hack, you are not required to do any cutting, drilling, or painting. You have to remove your current mailbox door and affix the replacement door when opening your mailbox.
Step 2. Get The Door Latches For Mailbox Repair
Perhaps your mailbox door is all right, but the door might keep hanging. Whether it is because of any reason, you can fix it with a latch and handle. You can attach the door latches with screws easily. And fortunately, buying these mailbox repair parts is quite easy. You can also repair plastic mailboxes with this hack.
To Sum Up The Repairing Process
The mailbox repair is done. But remember that there are kinds of damages that you cannot repair on your own, for instance, holes, cuts, and tears in the mailbox. However, if the mailbox has become the victim of rust and bad weather, you can repaint it. The paint will prevent the mailbox from getting rusted, but it won’t protect it from the damage that comes with rust. The mailbox experts can only do some mailbox repairs.
Don’t feel like doing so much hard work? And you are probably tired of searching for ‘ mailbox repair near me. ‘ Contact the professionals, Mailbox And Sign Solutions. We know that following too many instructions, buying repairing tools, and getting into the DIY mode isn’t everyone’s cup of tea. So our brand has been helping people repair, install, and renovate mailboxes for a long time. You can also contact us and enjoy our expert mailbox repair services. Also, if you still want to be a handyman, you can buy brackets, mailboxes, address plaques, and other mailbox repair tools from our site.